Saving a few seeds from your tomato crop is a lot simpler and easy than you might think. The first thing to remember is that most tomato varieties will not cross with each other. This means that if you grow several different varieties in the sae space you can, generally, save seeds from all of them and they will remain true to type. This is because nearly all indeterminate (Climbing) varieties have flowers with inserted stigma. this means that a visiting bees is unable to pass pollen into the flower which is completely self fertile. As soon as the pollen within the flower drops onto the stigma the tomato fertilises itself. There are exceptions however. Many older and traditional potato-leaf varieties as well as bush or determinate ones have exerted stigma which means that a visiting bee can transfer pollen from one plant to another. The good news is that you can grow several different varieties of tomatoes together and they will not cross if they have flowers with inserted stigma. If you are growing a variety with exerted stigma you will need to isolate it from other tomato varieties. If the flower looks like this then it has inserted stigma.

First harvest your tomatoes when they are fully ripe. You can leave them somewhere warm and sunny for a day or so if you think thy could ripen a little more. I do.

I skin large fruit by pouring boiling water over them which makes skinning much easier. Cut the tomatoes in half if small or quarters – lengthways for plum tomatoes and in thick slices for beefsteak types. Scoop out the seeds. reserving the flesh to make passata, sauce or whatever takes your fancy.

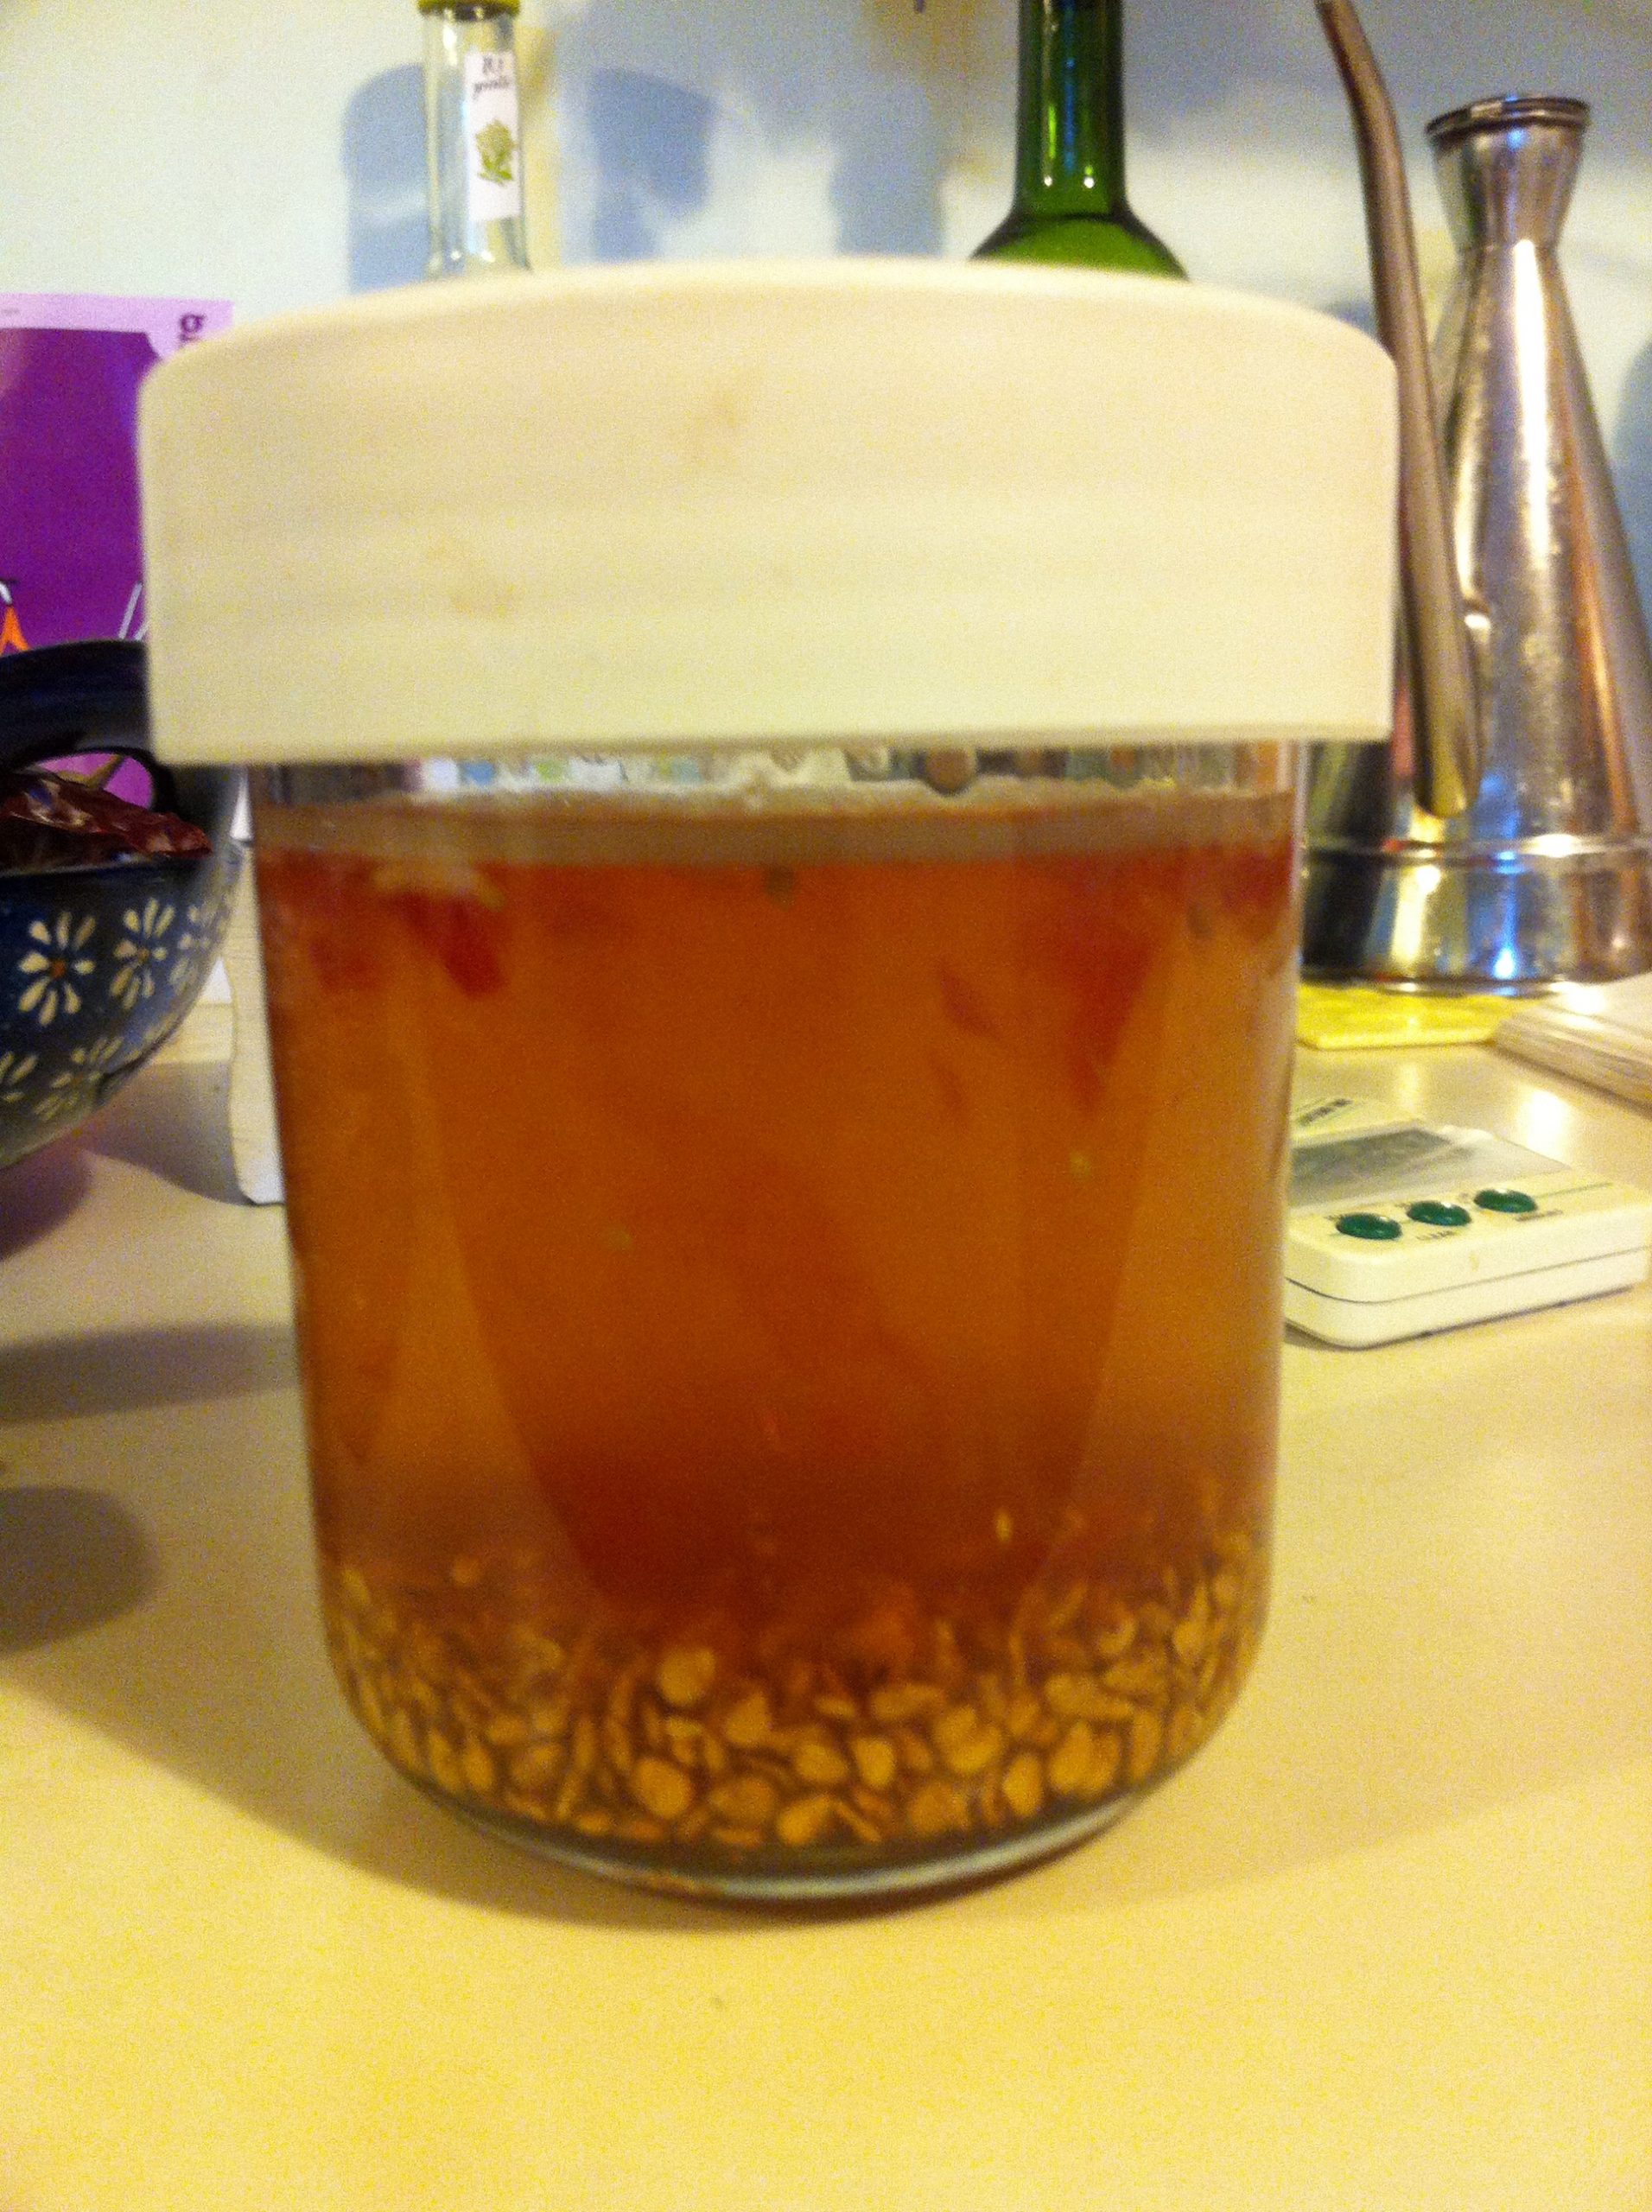
Using a spatula or spoon press as much of the pulp as you can through a fine sieve. When your seeds looks a bit like this put them into a jar filled with cold water.
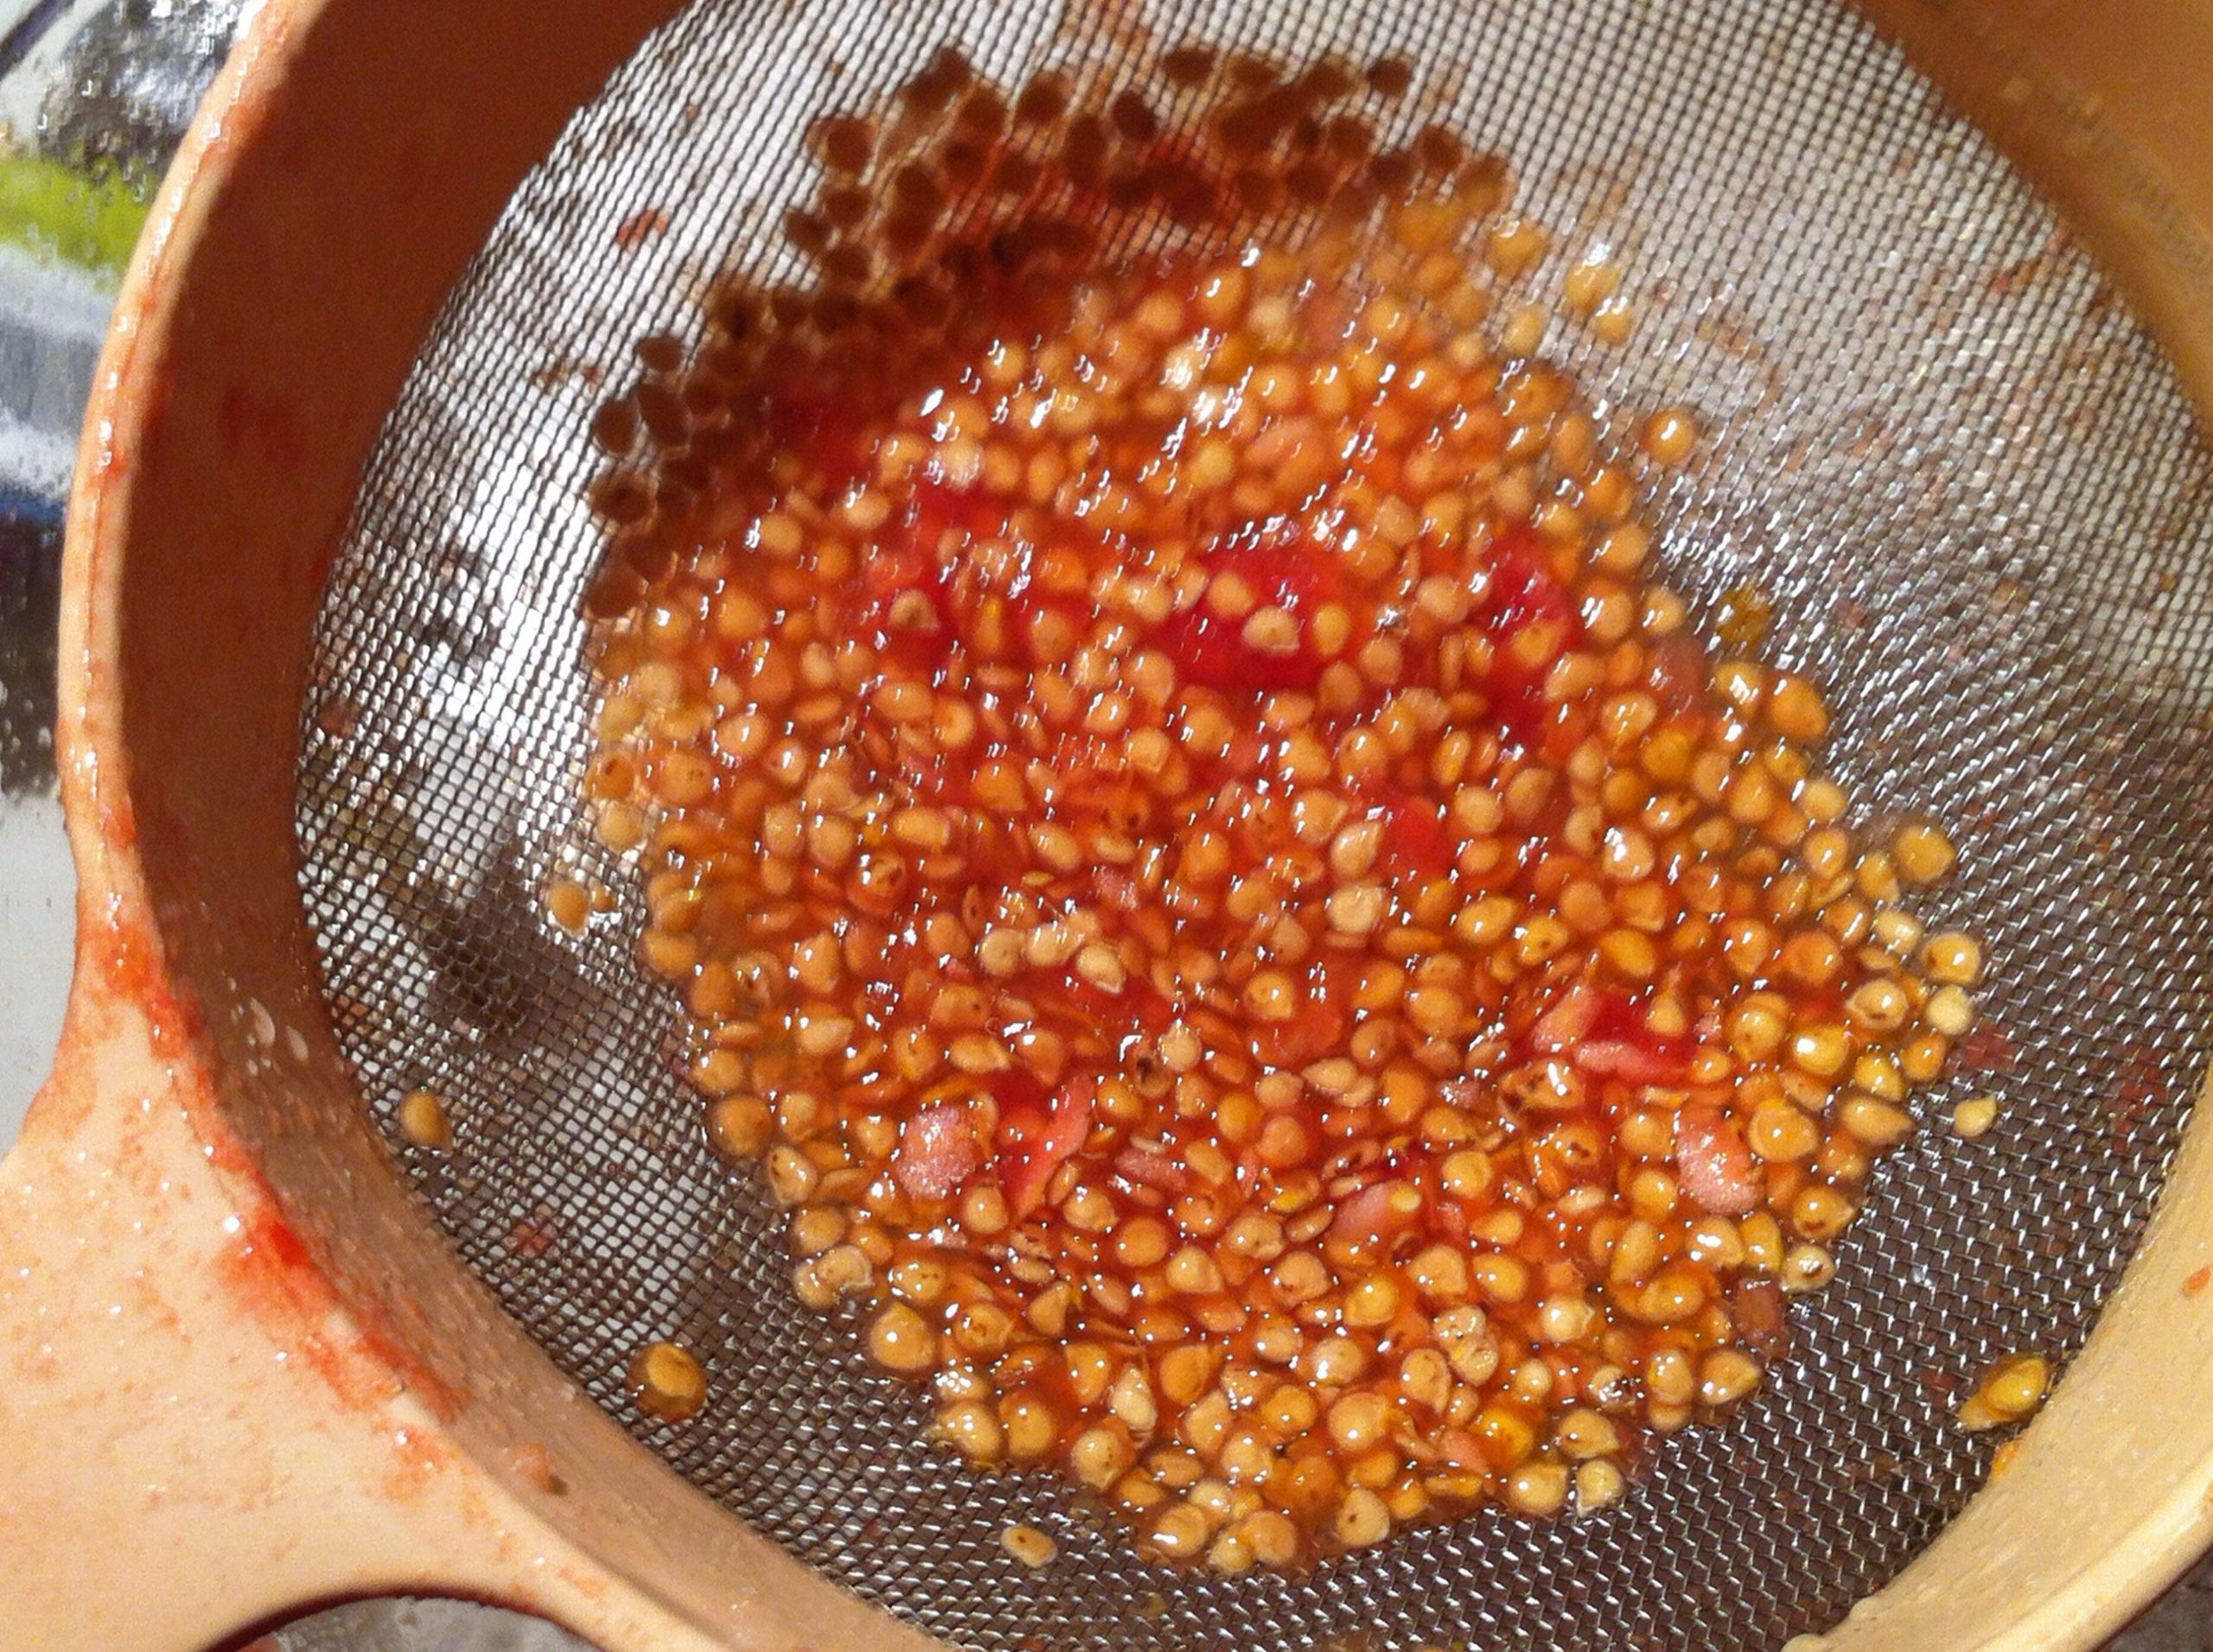
It is important to do this as the seeds are covered in a membrane which inhibits germination. Leaving the seeds in water for two or three days causes the membrane to ferment and break down so that when you empty the contents into a sieve and rinse thoroughly you have nice clean seeds to dry.
After 3 days rinse the seeds thoroughly in cold water using a sieve like this.

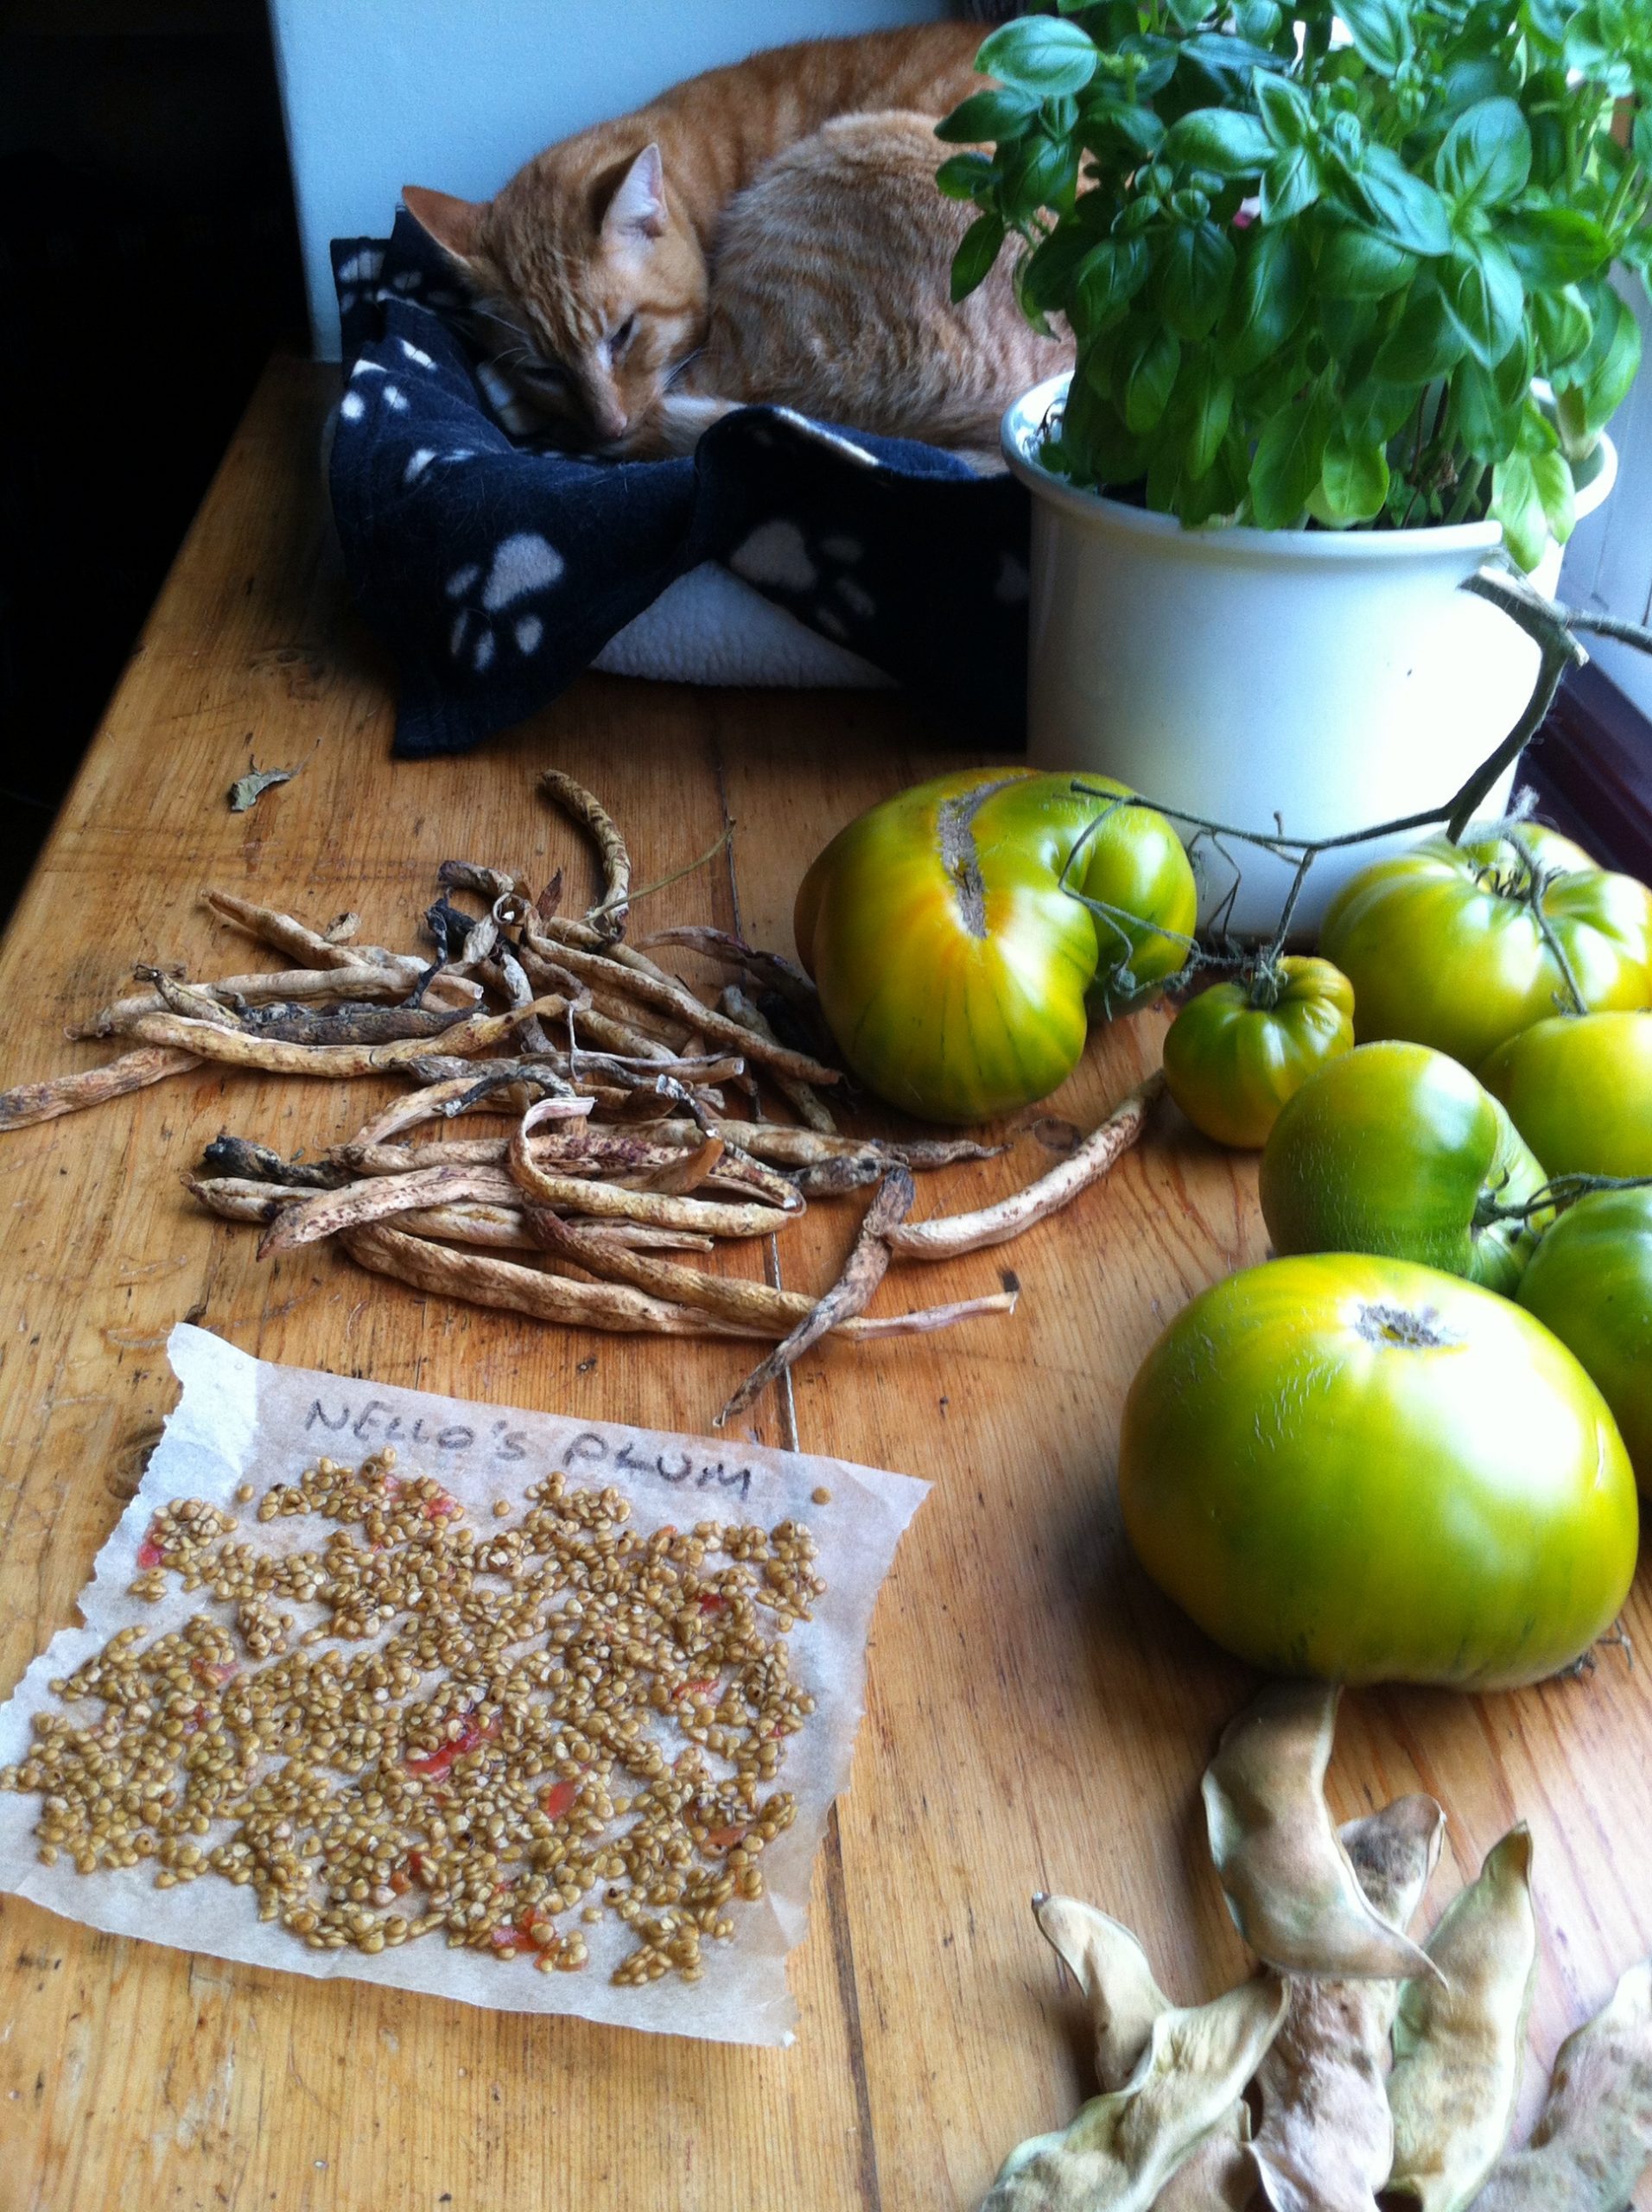
Now spread your seeds out thinly onto grease-proof paper – not tissue paper – and put somewhere warm and dry like a window sill but not in direct sunlight. Be sure to write the name of the variety on the paper. This is very important if, like me, you are saving several different varieties.

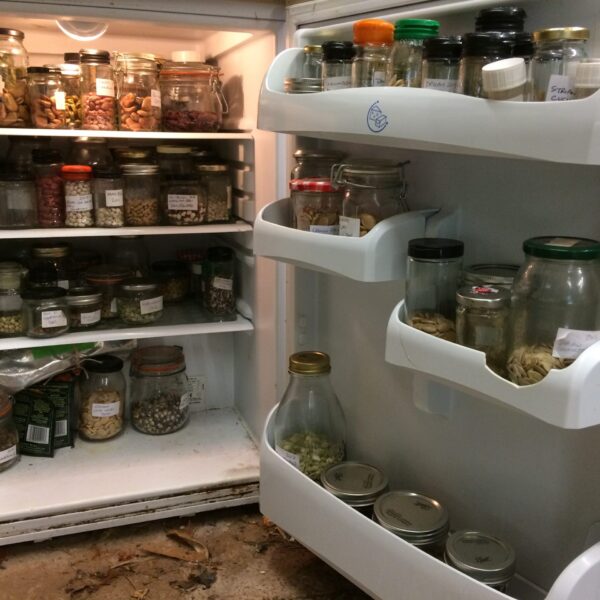
The seeds should not get too hot! They will dry perfectly well at room temperature. After a day or two scrape the seeds around a bit to turn them over and leave to dry for at least a week. Scrape the seeds off the grease-proof paper, rub them between your fingers to separate them and when they feel completely dry put them in an airtight jar or container and keep somewhere cool – ideally a fridge – until you are ready to sow them. You can also put seeds in an envelope stored in an airtight container, ideally in the fridge. To get your seeds really dry so they will keep for years it is worth putting them in a container with some silica gel which changes colour when it has taken up moisture. You can also put them in an airtight container full of dry rice and leave for a week or so before storing.